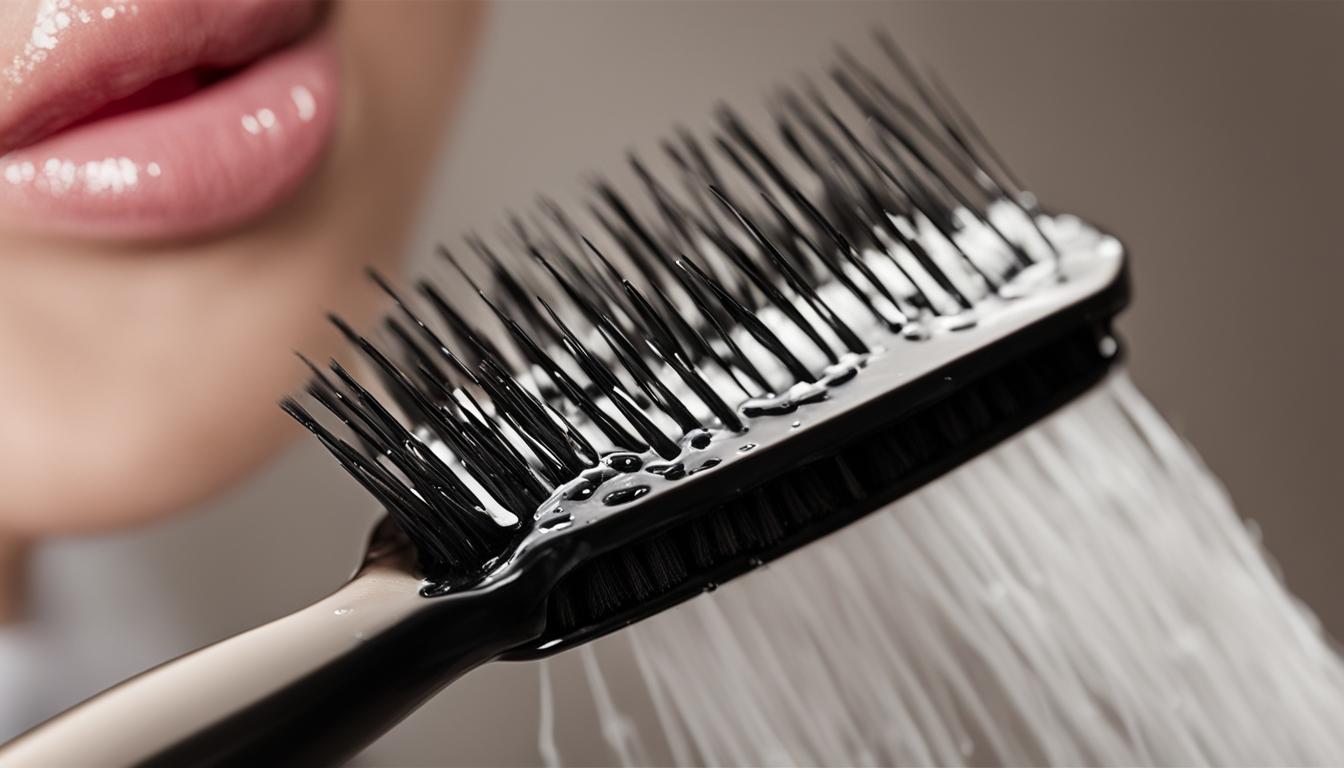
To properly clean and disinfect your face brush, it’s important to follow the right steps. Regular cleaning is essential to remove bacteria and dead skin cells that accumulate on the bristles. Cleaning your brush every 1-2 weeks is recommended to maintain hygiene and ensure safe use. Start by disconnecting the bristles and deep cleaning them to remove any buildup. Make sure to rinse the brush under water after every use to reduce the frequency of deep cleaning.
Contents
- 1 Step 1: Disconnecting the Bristles
- 2 Step 2: Washing the Brush by Hand
- 3 Step 3: Soaking the Bristles in Alcohol
- 4 Additional Tips for Cleaning and Maintenance
- 5 Conclusion
- 6 FAQ
- 6.1 How often should I clean my face brush?
- 6.2 How do I disconnect the bristles of my face brush?
- 6.3 What should I use to wash my face brush by hand?
- 6.4 How can I sanitize the bristles of my face brush?
- 6.5 How often should I replace the bristle disc of my face brush?
- 6.6 Can I clean the face brush while it’s still on the charger?
- 6.7 How should I store my face brush?
- 6.8 How do I clean the charging stand of my face brush?
- 7 Source Links
Key Takeaways:
- Regular cleaning of your face brush is crucial to remove bacteria and dead skin cells.
- Disconnect the bristles to clean them thoroughly and reduce the need for deep cleaning.
- Rinse the brush under water after each use to maintain hygiene.
- Consider soaking the bristles in rubbing alcohol for deep sanitization.
- Store your face brush separately from other silicone devices and ensure it is fully dry before reassembling.
Step 1: Disconnecting the Bristles
To effectively clean your face brush, the first step is to disconnect the bristles. This allows for a more thorough cleaning, ensuring that no dirt or bacteria is left behind. To do this, brace the back of the brush with your non-dominant hand and twist the disc counterclockwise to remove it. This process applies to all brands of cleansing brushes. It is important to note that the disc must be removed to ensure a deep and comprehensive clean.
By disconnecting the bristles, you can access every nook and cranny of the brush, ensuring that all dirt, bacteria, and buildup are removed. This step is crucial in maintaining the hygiene and effectiveness of your face brush.
Once the bristles are disconnected, you can proceed to the next steps in the cleaning process, which will further ensure the cleanliness and longevity of your face brush.
Key Points:
- Disconnecting the bristles allows for a thorough cleaning
- Brace the back of the brush and twist the disc counterclockwise to remove it
- This step applies to all brands of cleansing brushes
Table: Comparison of Face Brush Brands
| Brand | Cleaning Method | Bristle Material |
|---|---|---|
| Brand A | Removable bristle heads | Synthetic |
| Brand B | Non-removable bristle heads | Nylon |
| Brand C | Twist-off bristle heads | Silicone |
Step 2: Washing the Brush by Hand
Properly washing your face brush by hand is crucial to maintain its cleanliness and hygiene. By following these steps, you can ensure that your brush is free from dirt, bacteria, and buildup.
Step 2.1: Scrubbing the Back of the Disc
Start by scrubbing the back of the disc using hand soap and a toothbrush. This will help remove any dirt or residue that has accumulated. Gently scrub the disc in circular motions to ensure a thorough cleaning. Pay close attention to the edges of the disc, as they tend to collect the most dirt.
Step 2.2: Massaging the Bristles
Next, use the toothbrush to massage the bristles with hand soap. This will help remove any junk, dirt, or dead skin cells that may be trapped in the bristles. Gently massage the bristles in circular motions, working the soap into the bristles to ensure a deep clean.
Step 2.3: Cleaning the Head of the Brush
After cleaning the disc and bristles, it’s time to clean the head of the brush. Use the toothbrush and soap to clean the head thoroughly, ensuring that all areas are covered. Pay close attention to the bristle attachments and any crevices where dirt may accumulate. Rinse the brush under warm water to remove any soap residue.
| Materials | Instructions |
|---|---|
| Hand soap | Apply hand soap to the toothbrush and scrub the back of the disc. |
| Toothbrush | Massage the bristles with hand soap, ensuring a deep clean. |
| Water | Rinse the brush under warm water to remove any soap residue. |
Once you have finished washing the brush, set it aside to air dry completely before reassembling. This ensures that no moisture is trapped, which can lead to mold or bacteria growth. By washing your face brush by hand regularly, you can maintain its hygiene and keep your skin healthy and clean.
Step 3: Soaking the Bristles in Alcohol
To ensure proper disinfection of your face brush, soaking the bristles in alcohol is a recommended step. This helps to sanitize the brush and eliminate any remaining bacteria or dirt. Here’s how you can do it:
- Prepare a small container and fill it with rubbing alcohol or white vinegar.
- Submerge the bristles of your face brush in the alcohol or vinegar solution.
- Allow the bristles to soak for a minimum of 10 minutes, up to 24 hours for a deeper disinfection.
- After the soaking period, remove the brush from the solution and rinse the bristles thoroughly under warm water.
- Place the brush on a clean towel or paper towel to air dry for 2-4 hours.
Soaking the bristles in alcohol helps to kill any remaining bacteria and ensures a thorough disinfection of your face brush. It is especially useful if your bristles are heavily soiled or still discolored after hand-washing.
Important Note:
Make sure to avoid soaking the entire brush in alcohol or vinegar, as this may damage the electronic components if present. It is crucial to only submerge the bristles while keeping the handle and other parts dry.
By following this step, you’ll ensure that your face brush is properly sanitized and ready for future use. Regularly disinfecting your face brush is an essential part of maintaining hygiene and preventing any potential skin issues.
Now that you’re familiar with the steps to disinfect your face brush, let’s move on to additional tips for cleaning and maintenance to keep your brush in optimal condition.

Additional Tips for Cleaning and Maintenance
Aside from the main cleaning steps, here are some extra tips to help you keep your face brush in excellent condition:
- Replace the bristle disc every 3 months for daily use or every 6 months for less frequent use. This ensures optimum performance and hygiene.
- Store your face brush separately from other silicone devices to prevent cross-contamination.
- Ensure that the brush is fully dry before reassembling it to prevent mold or bacteria growth.
- Avoid cleaning the brush while it’s still on the charger, as this can damage the electronic components.
- Wipe down the charging stand with a dry or damp cloth if it gets dirty.
By following these additional tips, you’ll prolong the lifespan of your face brush and maximize its effectiveness in keeping your skin clean and healthy.
| Step | Summary |
|---|---|
| Step 1: Disconnecting the Bristles | Brace the back of the brush with your nondominant hand and twist the disc counterclockwise to remove it. This allows for a thorough cleaning. |
| Step 2: Washing the Brush by Hand | Scrub the back of the disc and the bristles with hand soap and a toothbrush to remove dirt and buildup. Rinse the brush under warm water and air dry. |
| Step 3: Soaking the Bristles in Alcohol | Submerge the bristles in rubbing alcohol or white vinegar for 10 minutes to 24 hours. Rinse the bristles and air dry before reassembling the brush. |
Additional Tips for Cleaning and Maintenance
Proper maintenance is key to ensure the longevity and effectiveness of your face brush. Here are some additional tips to help you keep your brush clean and in optimal condition:
1. Regular Deep Cleaning
In addition to the recommended regular cleaning every 1-2 weeks, it’s important to perform a deep cleaning on your face brush when necessary. If you notice discoloration or buildup on the bristles, it’s a sign that a deep clean is needed. Follow the steps mentioned in Section 2 and Section 3 to thoroughly cleanse the brush and remove any dirt, impurities, or dead skin cells.
2. Avoid Excessive Moisture
While it’s important to rinse your face brush under water after every use, it’s equally important to avoid excessive moisture. Avoid submerging the entire brush in water or leaving it wet for prolonged periods. Excessive moisture can damage the bristles, impact the functionality of the brush, and promote the growth of bacteria. After each use and cleaning, ensure that your brush is fully dry before reassembling and storing it.
3. Store Separately and Safely
When it comes to storing your face brush, make sure to keep it separate from other silicone devices or products that may transfer dirt or bacteria. Store your brush in a clean and dry location to prevent contamination. Additionally, avoid storing your brush on the charger, as the charging stand is not waterproof. Keeping your brush in a safe and hygienic environment will help maintain its cleanliness and longevity.
4. Replace Bristle Disc Regularly
The bristle disc of your face brush plays a crucial role in its effectiveness and hygiene. Over time, the bristles can become worn out and less effective in cleansing your skin. It is recommended to replace the bristle disc every 3 months if you use your brush daily, or every 6 months for less frequent use. By regularly replacing the bristle disc, you can ensure optimal performance and maintain the cleanliness of your face brush.
By following these additional tips for cleaning and maintenance, you can keep your face brush in top condition and promote clean and healthy skin. Remember to perform regular deep cleanings, avoid excessive moisture, store your brush separately, and replace the bristle disc periodically. With proper care, your face brush will continue to be a reliable tool in your skincare routine.
Conclusion
Cleaning and disinfecting your face brush is crucial for maintaining hygiene and preventing bacterial infections. By following these cleaning tips for face brushes and ensuring proper disinfection, you can keep your brush in top condition and enjoy clearer and healthier skin.
Remember to clean your face brush every 1-2 weeks to remove bacteria and dead skin cells that accumulate on the bristles. Disconnecting the bristles is an essential step for a thorough clean, allowing you to reach all the nooks and crannies. Hand-wash the brush using soap and a toothbrush to remove dirt and buildup, and don’t forget to clean the head of the brush as well.
If your bristles are still discolored after hand-washing, soak them in rubbing alcohol or white vinegar to sanitize and refresh them. This additional step will ensure that your brush is properly disinfected. After soaking, rinse the bristles and let them air dry before reassembling the brush.
By following these cleaning tips and maintaining proper disinfection, you can keep your face brush in optimal condition, prolong its lifespan, and promote healthier skin. Take good care of your brush, and it will take good care of you!
FAQ
How often should I clean my face brush?
It is recommended to clean your face brush every 1-2 weeks to maintain hygiene and ensure safe use.
How do I disconnect the bristles of my face brush?
To disconnect the bristles, brace the back of the brush with your nondominant hand and twist the disc counterclockwise to remove it.
What should I use to wash my face brush by hand?
Use hand soap and a toothbrush to scrub the back of the disc, the sides of the disc, and the bristles. Rinse the brush under warm water afterwards.
How can I sanitize the bristles of my face brush?
If the bristles are particularly dirty or discolored, you can soak them in rubbing alcohol or white vinegar for 10 minutes to 24 hours. Rinse the bristles afterwards and let them air dry.
How often should I replace the bristle disc of my face brush?
If you use your face brush daily, it is recommended to replace the bristle disc every 3 months. For less frequent use, replace it every 6 months.
Can I clean the face brush while it’s still on the charger?
No, it is advised to avoid cleaning the brush while it’s still on the charger, as the charger is not waterproof.
How should I store my face brush?
Store your face brush separately from other silicone devices and ensure that it is fully dry before reassembling it.
How do I clean the charging stand of my face brush?
Wipe down the charging stand with a dry or damp cloth if it gets dirty.


Leave a Reply